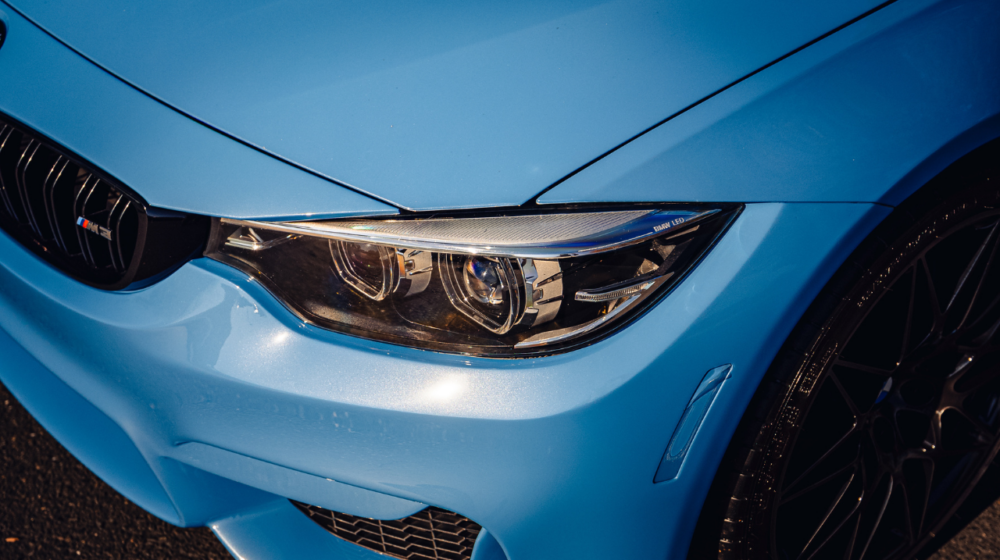
Welcome to our detailed installation tutorial for applying Carlas USA GT Series matte PPF on the fender of a Tesla Model Y. This step-by-step video guide ensures that even beginners can achieve a professional finish. Our focus will be on precision, handling specific challenges, and ensuring that every step is clear and executable for the best results.
Step 1: Preparing the Surface
Before applying the PPF, it’s essential to ensure the fender is clean and free of debris. Here’s how:
- Use a slip solution (a mixture of distilled water and a small amount of soap) to clean the fender thoroughly, working from the top down.
- Utilize a squeegee along with the slip solution to ensure a deeper clean, effectively removing any dust, dirt, or contaminants.
- Wipe the surface with a lint-free towel to ensure a pristine, debris-free surface.
- Spray the fender again with the slip solution to maintain a clean working surface and minimize debris.
Step 2: Positioning the Film
- Carefully place the PPF onto the fender, ensuring it lays as flat as possible.
- Start from the top down to minimize the risk of debris and contamination. Lock in one corner of the film to secure placement and begin smoothing it out across the surface.
Step 3: Tackling the Recessed Areas
Next, focus on the recessed areas which can be tricky:
- Push the film into the recesses of the fender using your thumb to ensure maximum adhesion.
- Work your way outward from the recess, gently pressing the film into place.
- Use additional tack solution in deep crevices to ensure the film properly conforms and stays put.
Step 4: Eliminating Air Bubbles and Fingers
Air bubbles and wrinkles can compromise the look and longevity of your PPF:
- Use a squeegee to remove any trapped air or solution, working from the center outward.
- Pull the film slightly downward to remove any excess tension, which helps prevent wrinkles or creases.
- Apply additional slip solution if necessary to allow smoother repositioning.
- If any stubborn “fingers” (wrinkles) appear, use a bit of tack solution and press them out with your hand or squeegee.
Pro Tip: Handling Dry Spots
If you encounter a dry spot where the film isn’t moving freely, don’t worry—Carlas USA GT Series Matte PPF is designed to be exceptionally forgiving. Here’s how to handle it:
- Lift the affected area slightly.
- Spray additional slip solution underneath to rehydrate the adhesive side of the film.
- Gently reposition the film and squeegee out any excess solution. The forgiving nature of the film allows for easy adjustments without compromising the installation.
- If the film still resists movement, lightly mist the top of the film with slip solution and use your hand to guide it into place. This flexibility ensures that even beginners can achieve a professional finish.
Step 6: Cutting and Sealing the Camera Hole
The final touch involves detailing around the camera and other small fixtures:
- Cut a small entry point for the side camera using a sharp knife.
- Carefully tuck the film around the edges of the camera opening, ensuring full coverage without wrinkles.
- Apply tack solution and use your thumb to press the film into place around the hole, ensuring a seamless fit.
Step 7: Trimming Excess Film
- Use a sharp blade to trim the excess film along the body lines, leaving about a quarter-inch of material to tuck in.
- Be careful not to cut into the paint while making clean, precise cuts.
- Tuck the edges securely using a lint-free towel to avoid debris contamination.
Final Touches
- Go over the entire fender one last time to check for any lifting edges, air pockets, or areas needing extra attention.
- If any small wrinkles or bubbles remain, use a squeegee and additional tack solution to smooth them out.
- Allow the film to dry and adhere properly before exposing the vehicle to water or extreme temperatures.
Why Choose Carlas USA PPF?
Carlas USA’s PPF is designed to be user-friendly, offering great flexibility and durability. Unlike other films that require an alcohol-based tack solution, this film adheres well with just distilled water, making it easier to install and adjust as needed.
Conclusion
Installing PPF can seem daunting, but with the right technique and tools, you can achieve professional results. For a full step-by-step video tutorial, be sure to check out our YouTube video and subscribe for more installation guides. Happy installing!


